
Make a pixel brush for Procreate
If you want to try pixel art in Procreate, all you need is a pixel brush. Don’t panic, if this is your first brush! The pixel brush is (possibly) the easiest to create and here’s how you can do it.
In this post, I includes ALL the settings from Procreate’s “Brush Studio” (the area where brushes are created and modified) including which I didn’t change for this brush. I marked below what exactly I changed and which levels settings I skipped.
🔖 Quick links
Create a new Brush 🖌️
Enter Brush Studio
To create a pixel brush, create a canvas of any size (I used 128×128 pixels).
Go to the “Brush Library” by tapping on the top right brush icon.
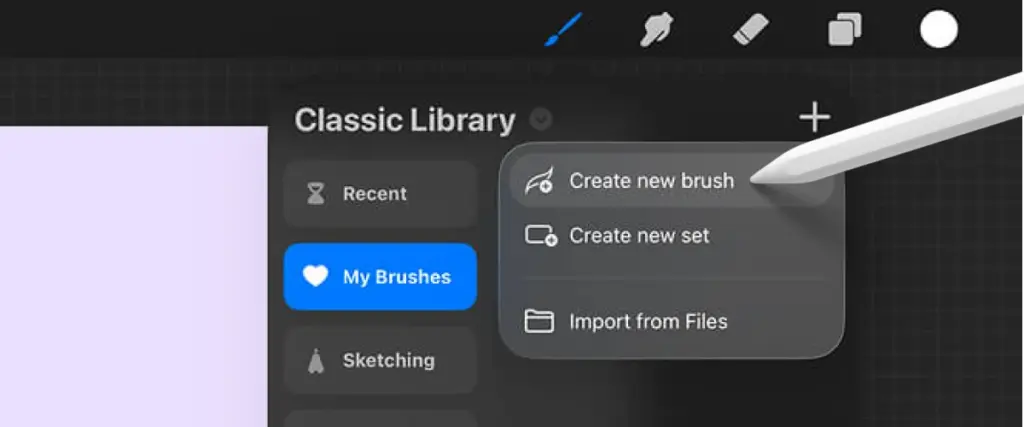
Choose or create a set you want your brush to be in, tap on the plus icon and select “Create new brush”.
Naming your brush
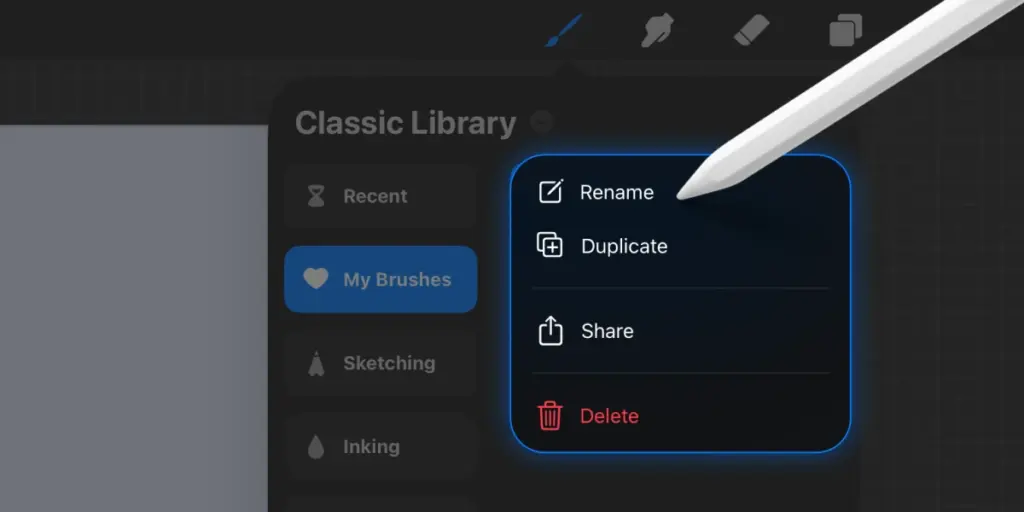
You can also change the names of brushes in the brush library.
Tap and hold the brush you want to edit, then select “Rename.”
If you have an earlier Procreate version (before 2025), you would (re)name brushes in the “About this brush” tab.
Brush Studio settings ⚙️
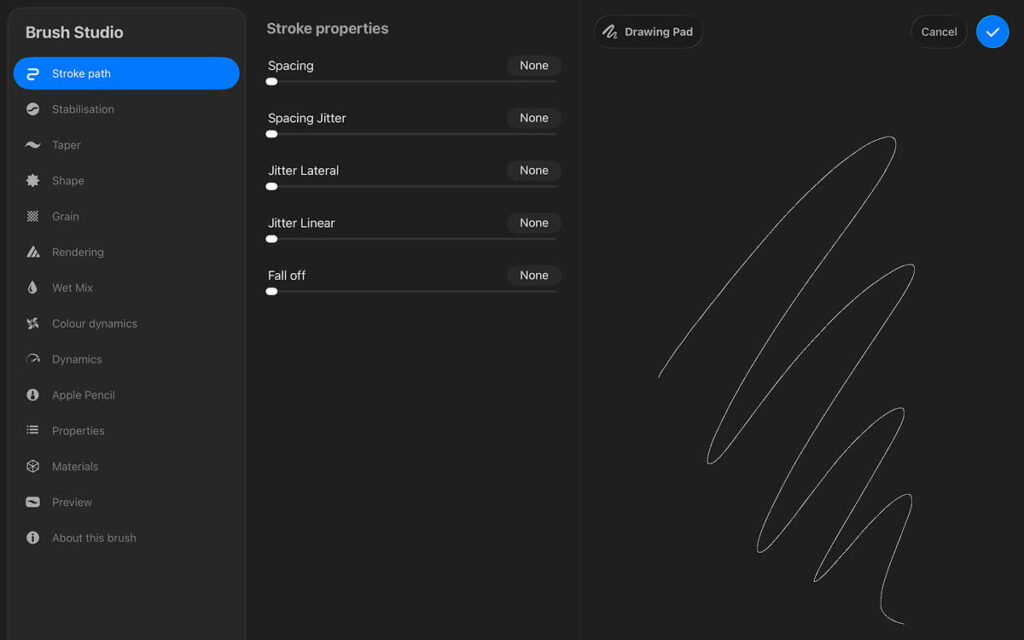
Stroke path
Set “Spacing” to None.
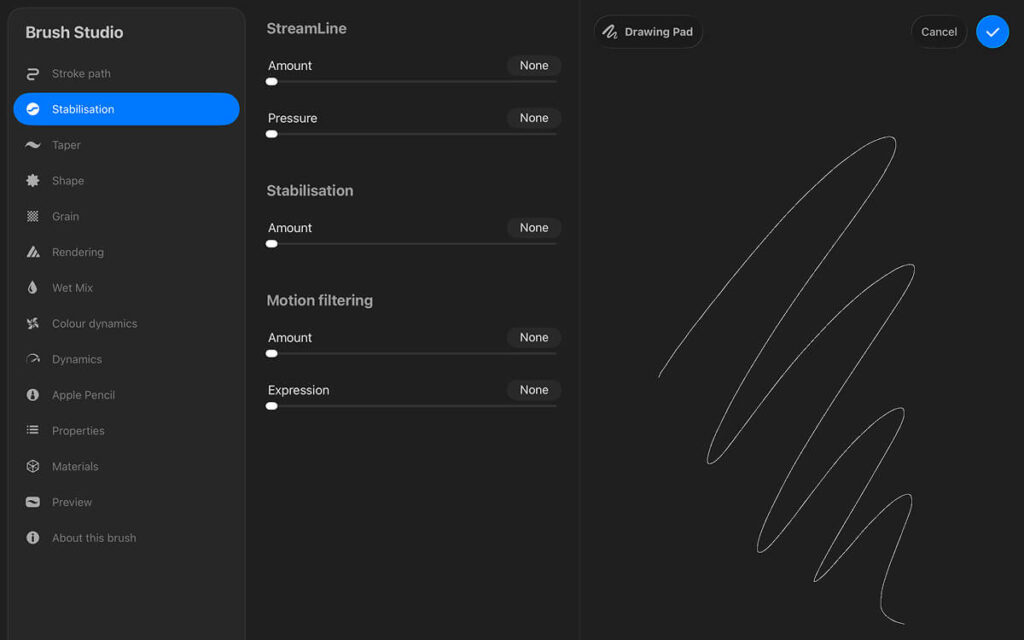
Stabilitation
No changes here.
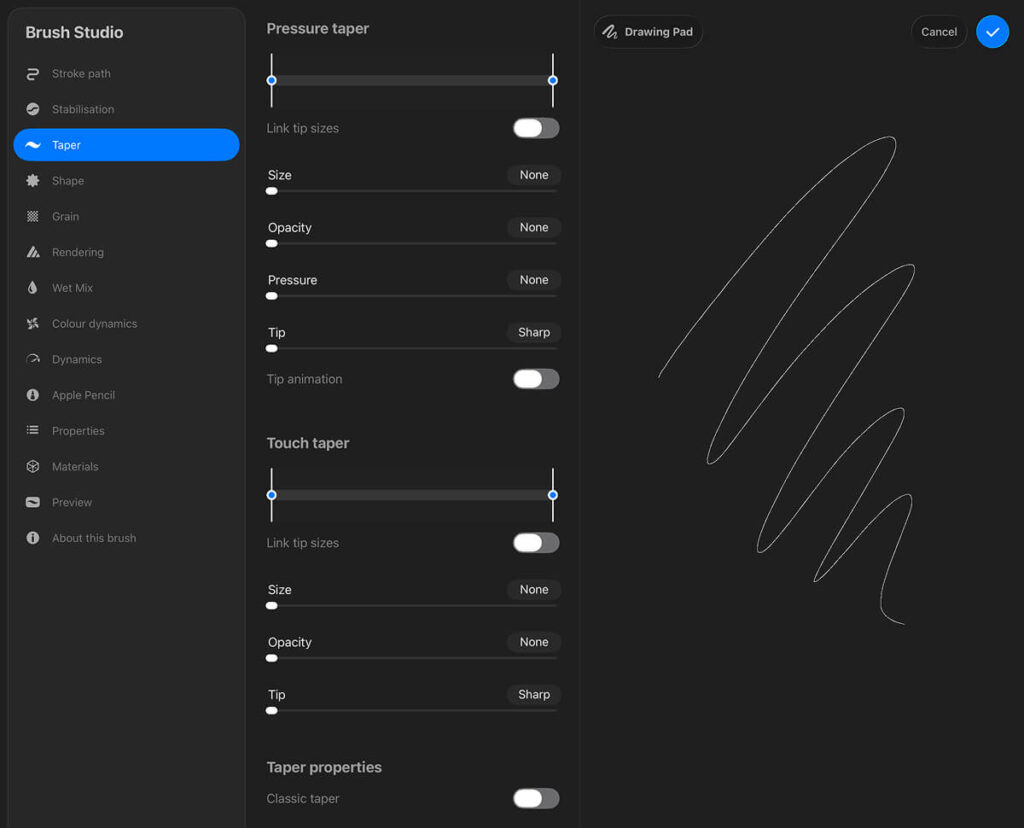
Taper
Set “Pressure” to none and make sure the sliders for “Link tip sizes” are all the way to the left and right.
Shape
This is where the magic happens ✨
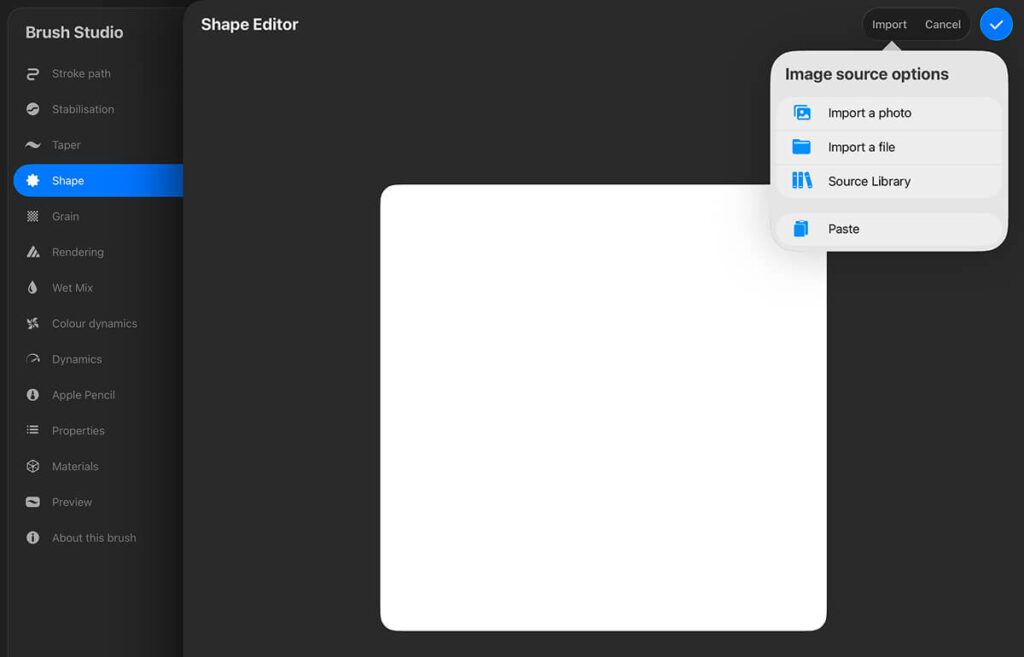
Tap on “Edit” next to the headline “Shape Source”.
In the shape editor, tap “Import”, select “Source Library“.
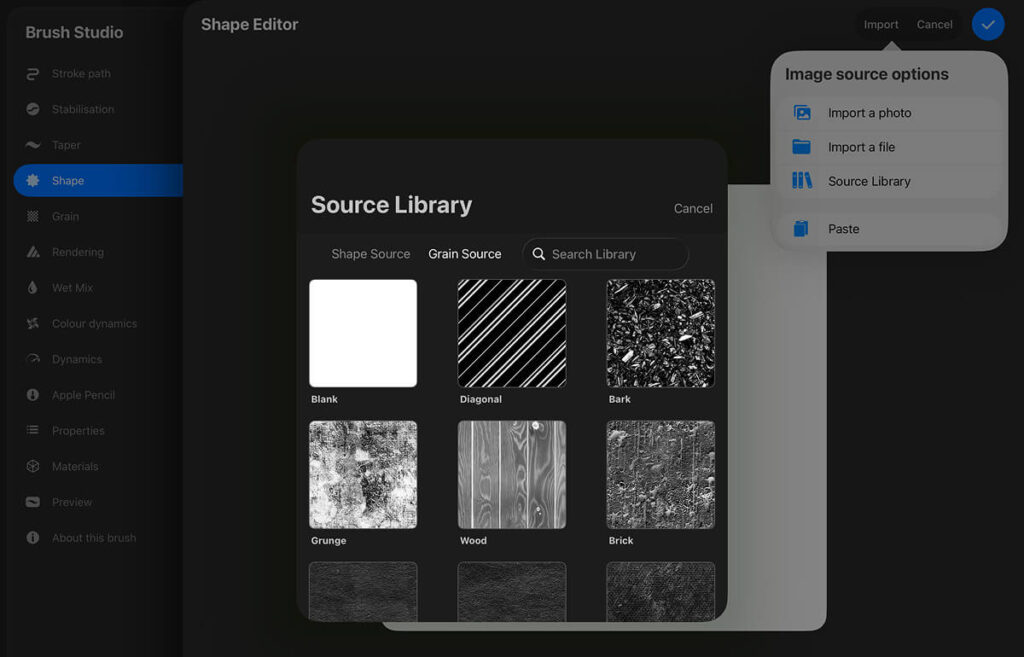
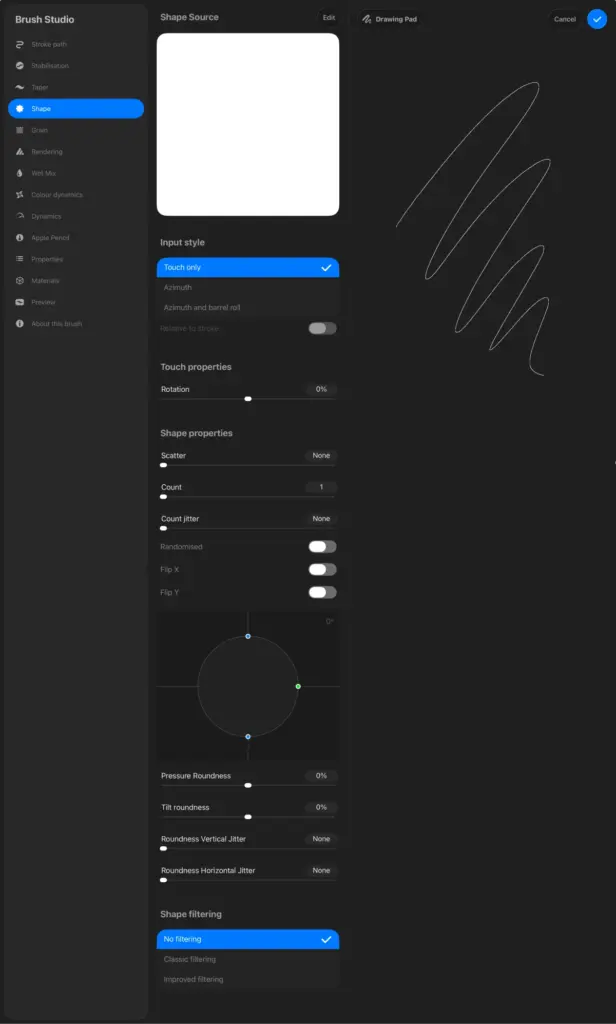
Shape source + settings
Go to “Grain Source” (under the Source Library headline) and select the white square labeled “Blank”.
Confirm and back in the general shape settings, change “Shape filtering” to “No filtering”.
Grain
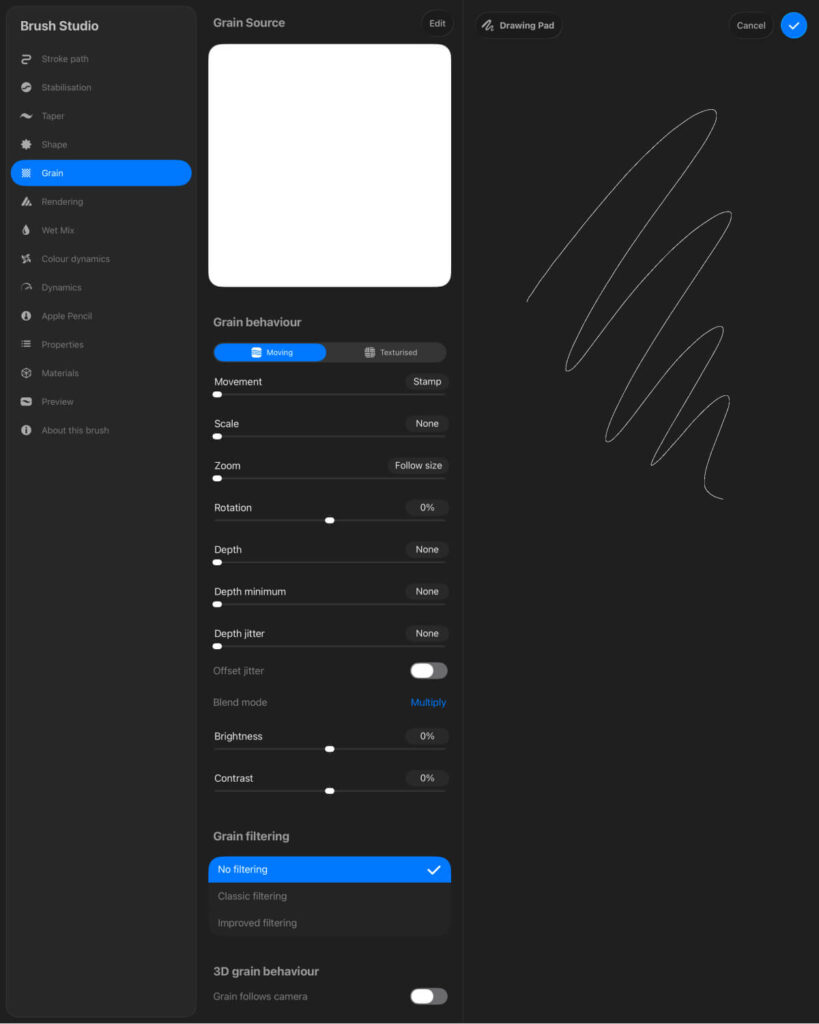
Deactivate all settings and change “Grain filtering” to “No filtering”.
Rendering
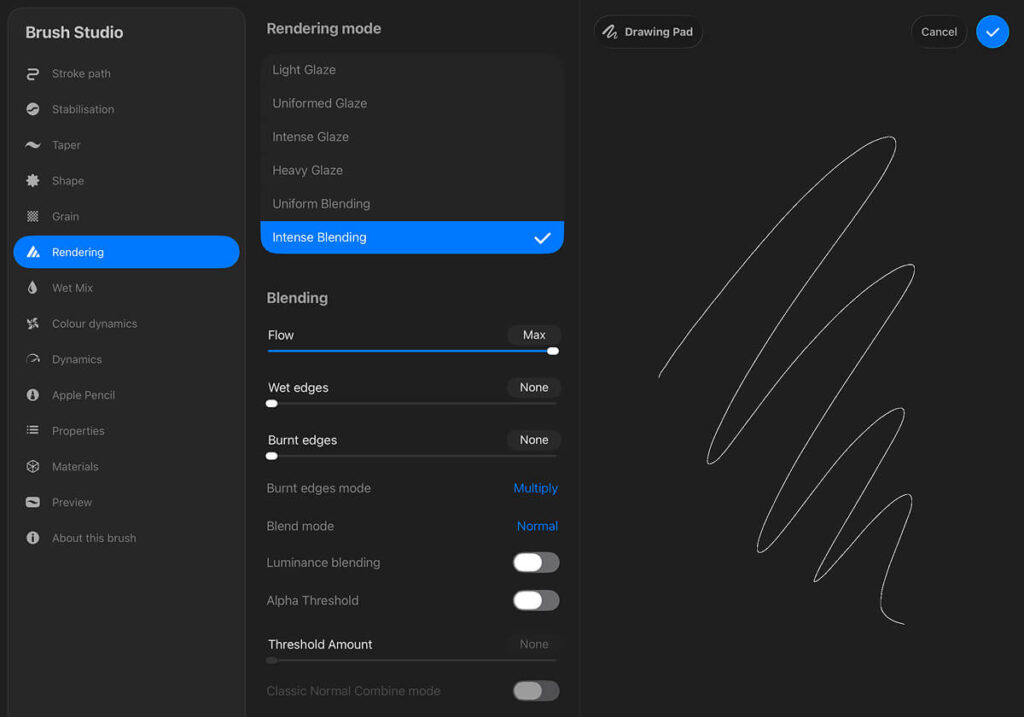
Change “Intense Glaze” to “Intense Blending“.
Wet Mix
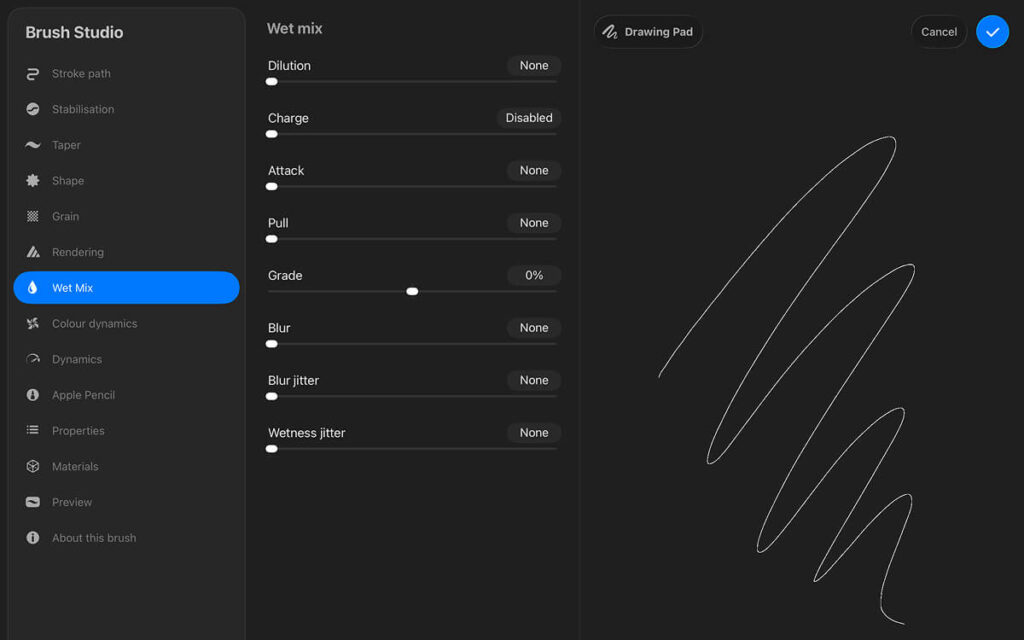
Deactivate all settings.
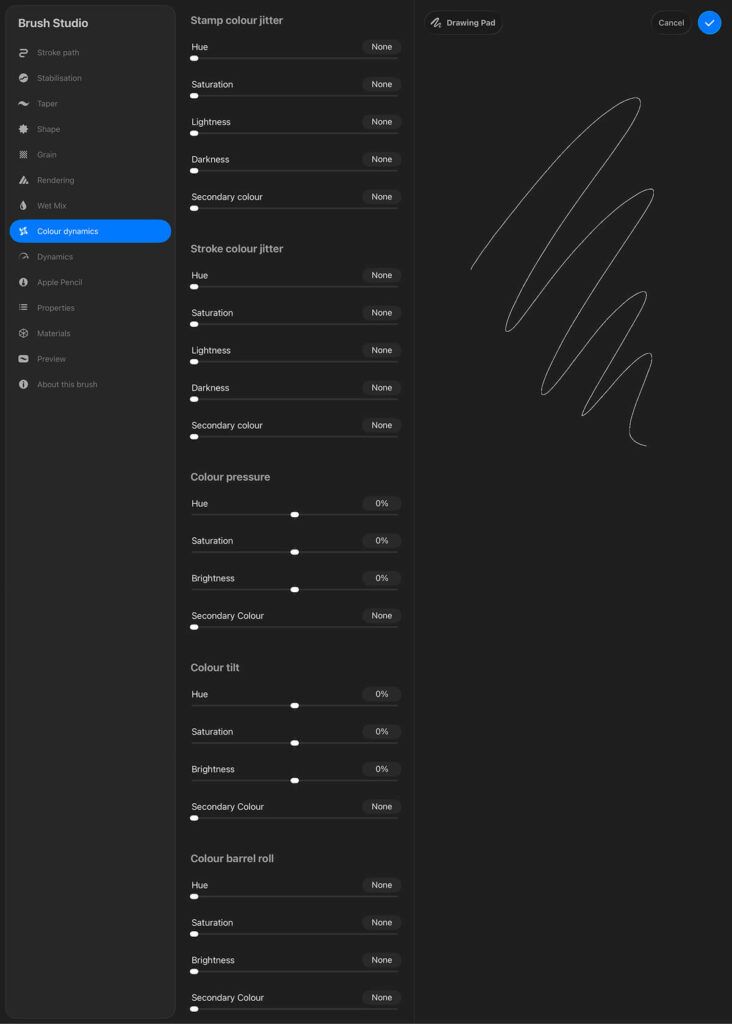
Colour dynamics
No changes here.
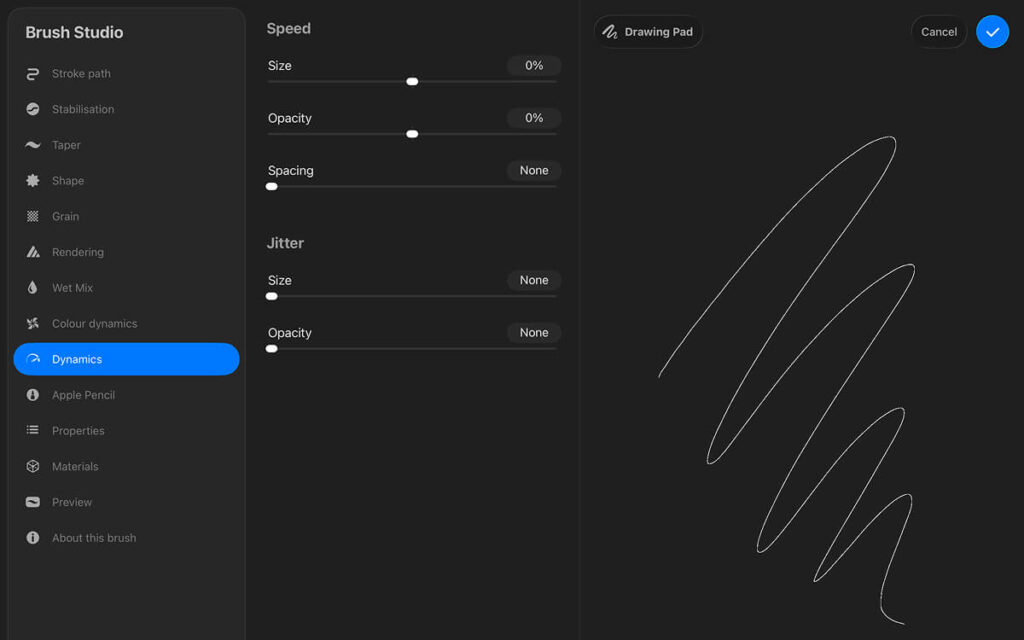
Dynamics
No changes here.
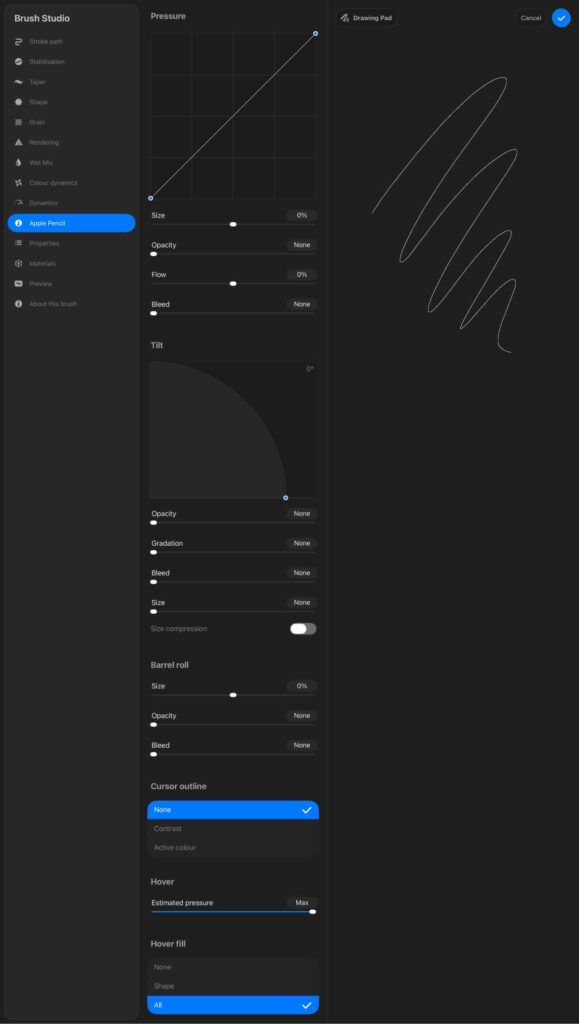
Apple Pencil
Set “Opacity” to None.
Deactivate “Tilt” by moving the blue dot on the graph to the bottom.
Turn of “Size compression” and set “Estimated pressure” (Hover) to Max.
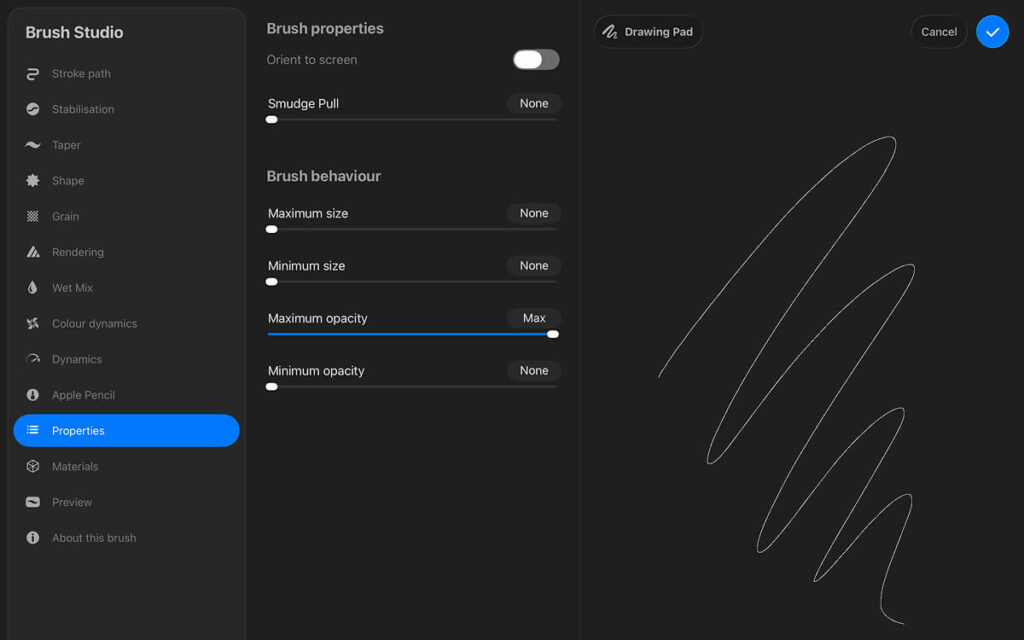
Properties
Deactivate “Orient on Screen” which is important, so your brush doesn’t break if you rotate your canvas.
Set “Maximum size” to none, so your brush stays 1px.
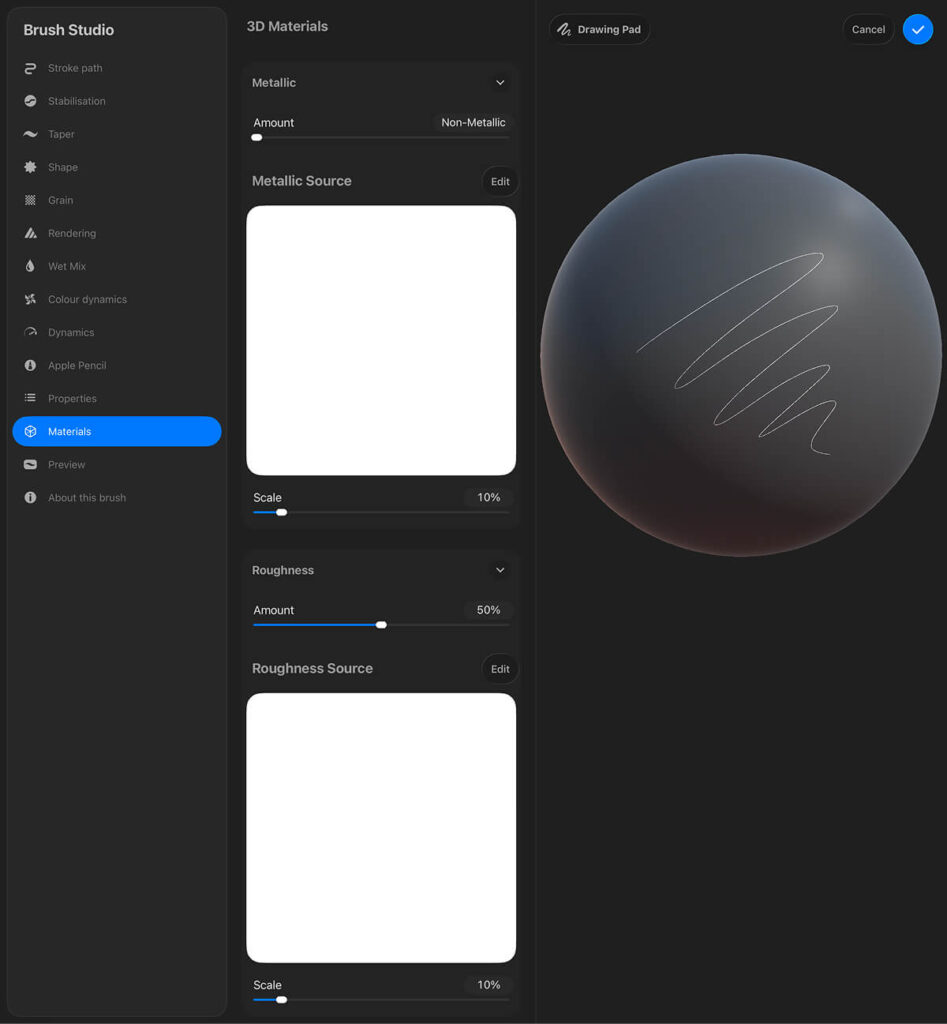
Materials
No changes here.
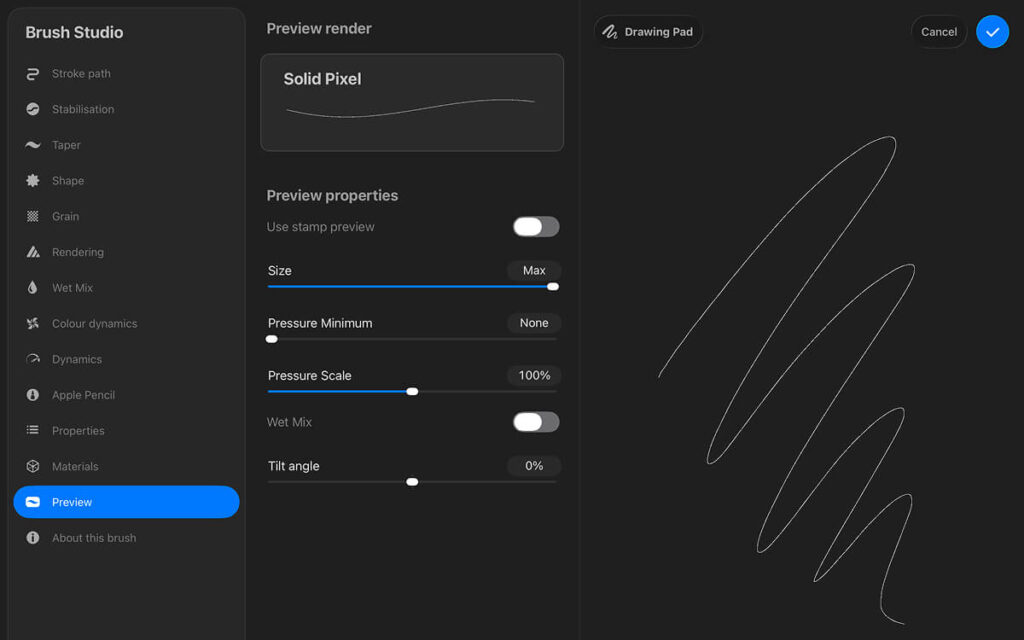
Preview
Unfortunately, because the pixel brush is so small, it’s not possible with Procreate’s setting to properly show it’s pixel beauty 😞
Set size to 100% to show it as big as possible. It’s the thought that counts!
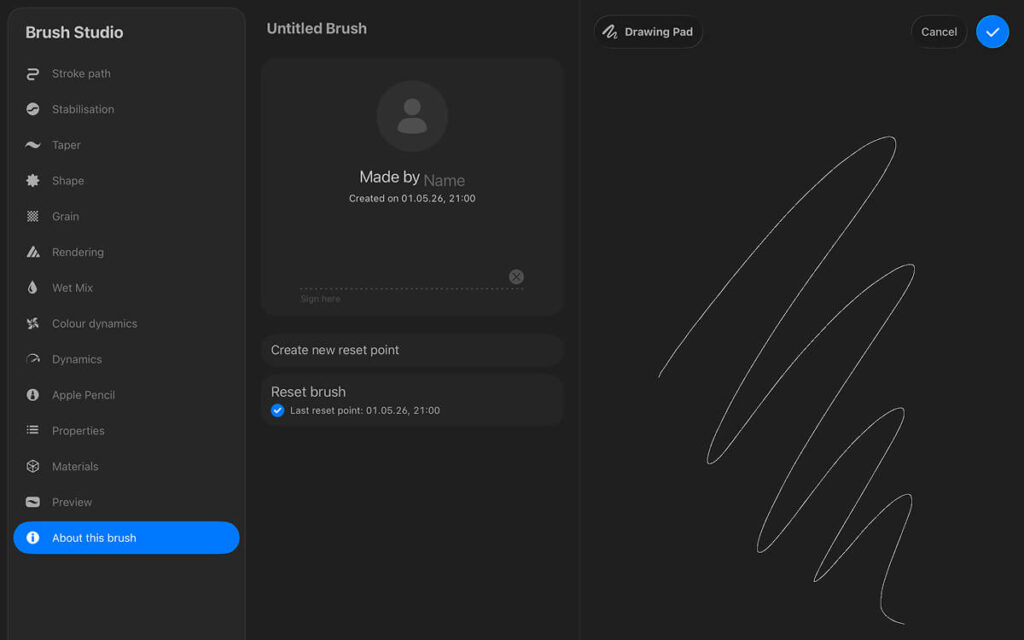
About this brush
Here you can add your personal details.
Tab on the image placeholder to upload a picture or a logo. Tab on “Name” to enter yours.
Add your signature to make this brush officially your creation! ✍️
That’s it! I hope you found this guide helpful and managed to create your own pixel brush.
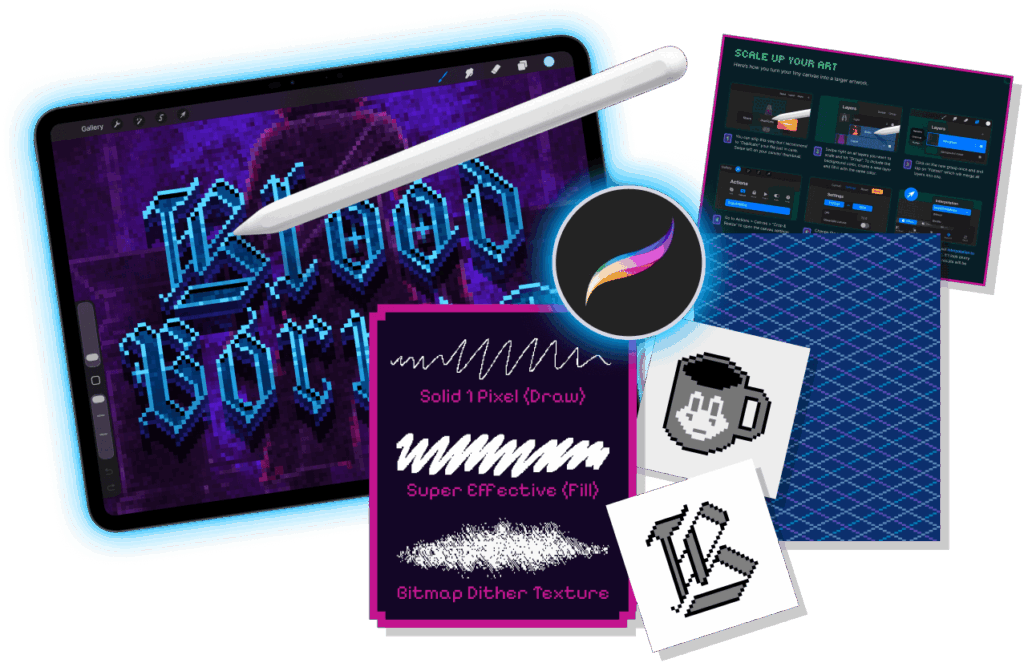
If you’ve gotten a taste for it, now you’ll find more pixel art tips in my newsletter (check below). As a thank-you, you’ll also receive a mini-toolkit that includes two additional brushes, three templates, and tips on how to scale pixel art in Procreate.
Thanks for hanging out!
Stay creative and see you next time 👋
Get started with pixel art👾
What’s inside
- 3 Brushes files (draw, fill, dither texture)
- 3 Templates (2 designs & isometric guide)
- 1 Instruction PDF (Installing & Scaling)
More pixel art related posts 👾
Resize pixel art without breaking in Procreate
Putting one of the biggest mysteries to rest: How do I actually scale pixel art properly in Procreate without turning it into a pixel mess?
Canvas setup for pixel art in Procreate
What’s a good size when starting with pixel art in Procreate? Here are my go-to settings, I use when creating a new pixel project.